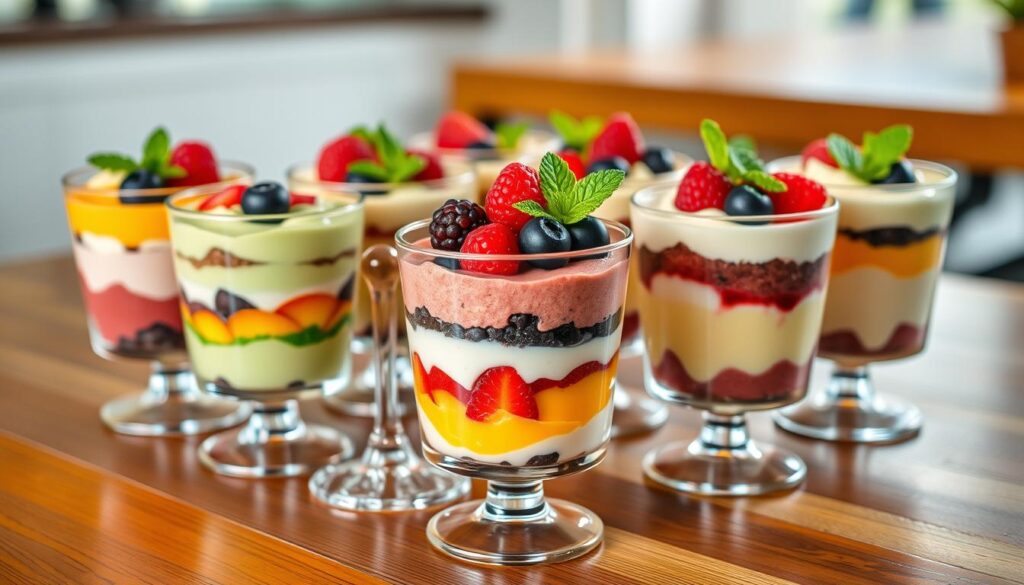
As the sun sets, the air buzzes with excitement. The table is ready, candles lit, and guests wait for dessert. It’s not just any dessert; it’s a masterpiece that will amaze everyone. Welcome to the world of layered desserts, where flavors and textures come together in a delightful mix.
We’ve picked 10 recipes to take your hosting to the next level. From classic tiramisu to modern parfaits, each dessert is a feast for the eyes and taste buds. Whether you’re an experienced baker or new to the kitchen, these recipes are easy to follow. They’ll help you create stunning layered desserts.
Explore the world of layered desserts, where every bite is a surprise. Learn how to balance flavors and textures, and show off your pastry skills. Impress your guests with these easy layered desserts and fancy layered desserts. They’ll want more, maybe even a third helping!
Key Takeaways
- Layered desserts offer a visually stunning and flavorful experience for your guests.
- This collection includes a variety of traditional and innovative recipes suitable for all skill levels.
- Discover the secrets to creating perfectly balanced layered desserts in a glass and other impressive presentations.
- Impress your guests with these easy-to-follow recipes that will elevate your entertaining game.
- Explore the world of layered desserts and unlock a new level of culinary creativity.
| Recipe | Prep Time | Cook Time | Total Time | Servings | Calories |
|---|---|---|---|---|---|
| Classic Tiramisu | 10 minutes | 15 minutes | 1 hour | 12 people | 496 kcal |
| Decadent Black Forest Chocolate Torte | 30 minutes | 1 hour | 1 hour 30 minutes | 8 people | 421 kcal |

Explore these mouthwatering layered dessert recipes and elevate your dessert menu to new heights. Discover the perfect balance of flavors and textures that will leave your guests craving more.
Understanding Layered Desserts
Layered desserts are a delightful way to tantalize your taste buds and impress your guests. These visually stunning creations layer a variety of textures and flavors. From rich chocolate to tangy fruit, they create a harmonious symphony in every bite.
Types of Layered Desserts
Explore the diverse world of layered desserts. This includes classic trifles, decadent parfaits, and no-bake icebox cakes. Trifles, with their alternating layers of sponge cake, creamy custard, and fresh fruit, are a beloved English tradition.
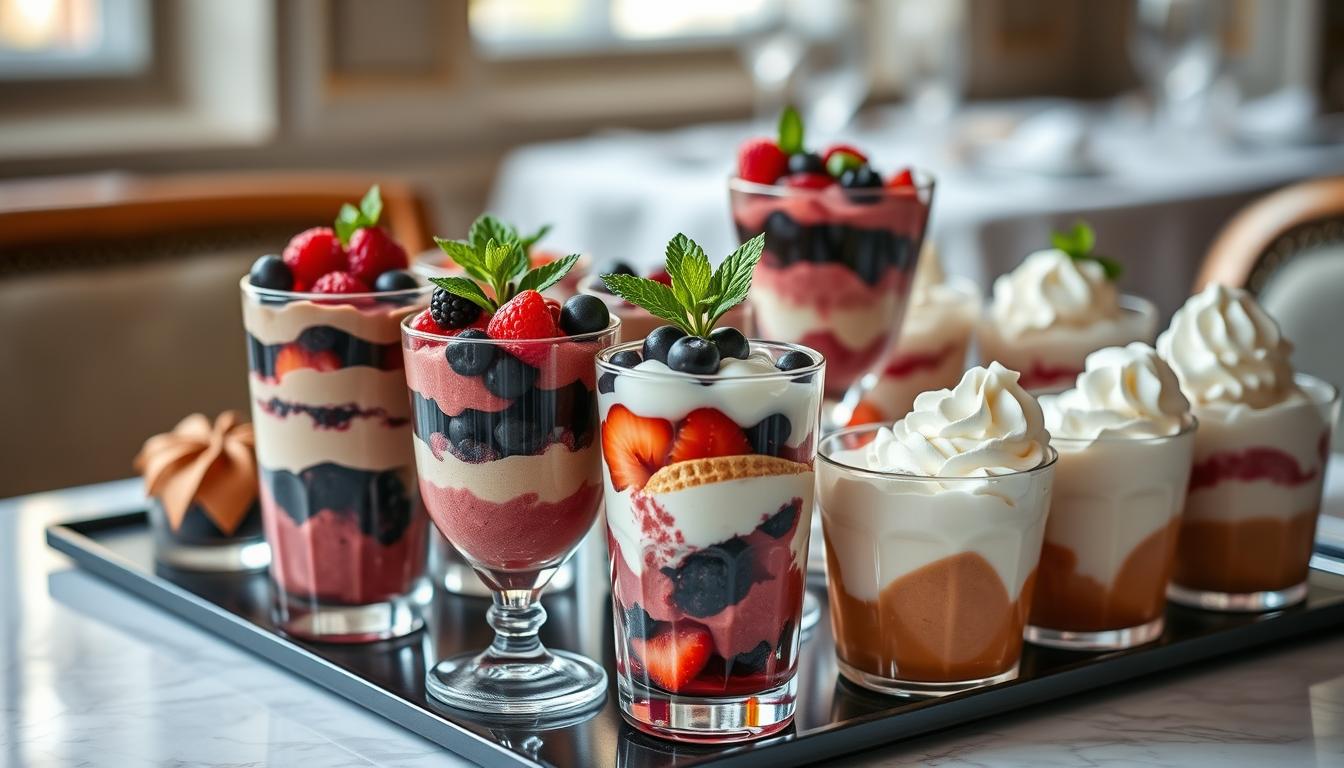
Parfaits stack luscious yogurt or mousse with crunchy granola and juicy berries. Icebox cakes, made by layering wafers or cookies with whipped cream, chill in the refrigerator to form a delectable dessert.
Essential Tools and Equipment
- Trifle bowls: These tall, clear vessels showcase the stunning layers of your dessert.
- Springform pans: Ideal for layered cakes, these pans allow you to easily remove the dessert without disrupting the layers.
- Offset spatula: A must-have for smoothing and spreading creams and fillings between the layers.
Basic Techniques for Perfect Layers
Mastering the art of layered desserts begins with a few essential techniques. Use a piping bag to precisely apply creams and mousses. This ensures each layer is evenly distributed.
Chill the dessert between layers to help the components set. This maintains their distinct textures. And don’t be afraid to experiment with creative flavor combinations. From classic tiramisu to decadent trifle variations, there’s endless possibility.

| Layered Dessert Recipes | Servings | Total Time |
|---|---|---|
| Classic Tiramisu | 8-10 | 45 mins |
| Blueberry Cheesecake Icebox | 12-16 | 30 mins |
| Peanut Butter and Chocolate Layered Dreams | 6-8 | 20 mins |
Discover the endless possibilities of layered desserts. Elevate your culinary creations to new heights of flavor and visual appeal.
Classic Tiramisu: The Ultimate Italian Layer Dessert
Tiramisu is a beloved Italian dessert loved by many. It’s made with coffee-soaked ladyfingers, creamy mascarpone, and cocoa powder. This tiramisu recipe is a true classic, showcasing the best of Italian desserts and coffee-flavored desserts.
This recipe is all about finding the perfect balance of flavors and textures. With a 4.9 out of 5 rating from 78 reviews, it’s sure to impress and satisfy.
- Start by making the coffee soaking liquid. Brew a strong espresso and mix in 5 tablespoons of Marsala wine or your favorite liquor.
- In another bowl, whisk together 5 egg yolks and 100g of sugar until light and fluffy. Make sure it reaches 145°F for 15 seconds for safety.
- Then, gently fold in 16 ounces of mascarpone cheese and 3/4 cup of whipped heavy cream for a creamy filling.
- Dip 24 Italian ladyfingers in the coffee mixture quickly, so they soak up the flavor but don’t get too soggy.
- Build the tiramisu by layering coffee-soaked ladyfingers and mascarpone cream in an 8×8 or 9×13 pan.
- Keep layering until you use all the ingredients, finishing with cocoa powder on top.
- Refrigerate for at least 4 hours or up to 3 days to let the flavors meld and the ladyfingers soften.
For a lighter version, use whipped egg whites instead of heavy cream. This makes the tiramisu airier and less calorie-dense. For a creamier texture, add an extra 1.5 cups of heavy cream.
| Nutrition (per serving) | Amount |
|---|---|
| Calories | 314 |
| Protein | 7g |
| Carbohydrates | 22g |
| Dietary Fiber | 0g |
| Total Sugars | 14g |
| Total Fat | 22g |
| Saturated Fat | 12g |
| Cholesterol | 177mg |
Try the classic tiramisu recipe and enjoy the mix of coffee, chocolate, and mascarpone. It’s a great way to impress your guests with a true Italian dessert that’s all about rich, indulgent flavors.

Decadent Black Forest Chocolate Torte
Indulge in the rich, decadent flavors of a classic Black Forest cake. This impressive chocolate torte has layers of moist chocolate sponge cake, sweetly tart cherries, and luscious whipped cream frosting. Learn how to pick the perfect cherries, master the chocolate layers, and assemble the torte for a stunning dessert.
Choosing the Right Cherries
Traditional Black Forest cake uses Schattenmorellen, or Morello sour cherries, for a perfect balance. But maraschino cherries are also a favorite in many places. For the authentic taste, look for fresh or frozen Morello cherries. If you can’t find them, tart Bing or Rainier cherries work well too.
Chocolate Layer Tips
The secret to a decadent Black Forest cake is in the chocolate layers. Use top-quality cocoa powder and chocolate for the best taste. Whip the eggs well to make a light and airy sponge cake. Let the cakes cool completely before you start assembling.
Assembly Instructions
When your chocolate cakes and cherry filling are ready, it’s time to put the Black Forest chocolate torte together. Start with a cake layer on your serving platter. Add a layer of whipped cream and some cherries. Repeat with the rest of the layers, cream, and cherries. Finish with a layer of whipped cream and decorate with chocolate shavings or mini chocolate chips for a fancy look.
Let the assembled torte chill in the fridge for 2-4 hours before serving. This lets the flavors mix and the layers set. Enjoy this indulgent Black Forest cake as a stunning centerpiece for your next special event.
Stunning Trifle Variations
Trifles are the ultimate crowd-pleasers, with their gorgeous layers and irresistible flavors. Whether you love classic fruit trifles or chocolate, there’s a recipe for you. Discover a range of trifle variations that will wow your guests.
Fruit trifles are a favorite, with vibrant layers of custard, whipped cream, and fresh fruits. Try a trifle with alternating layers of creamy custard and juicy fruit for a stunning look.
Chocolate lovers will adore a decadent chocolate trifle. It combines rich chocolate cake, velvety chocolate pudding, and luscious whipped cream. Top it with shaved chocolate or crunchy toffee for elegance.
Trifles are versatile and can be made for any occasion. They’re easy to make ahead and assemble. These stunning desserts will have your guests talking long after they’re gone.
Trifle Recipes to Try
- Classic Strawberry Trifle
- Chocolate Hazelnut Trifle
- Lemon Blueberry Trifle
- Pumpkin Spice Trifle
- Tiramisu Trifle
Trifles are the ultimate showstopper dessert, with captivating layers and irresistible flavors. Whether you’re in the mood for a fruit-forward creation or a decadent chocolate indulgence, these stunning trifle variations are sure to delight your guests and leave them craving more.
No-Bake Layered Desserts for Summer
When it’s hot outside, the last thing you want to do is bake. Luckily, there’s a cool solution – no-bake layered desserts that are perfect for summer. These treats look great and taste amazing, all without the need to bake.
Refrigeration Guidelines
Keeping your no-bake desserts chilled is crucial. They should stay cool from start to finish. Make sure your fridge is at 35-40°F to keep them fresh. Use strong, airtight containers to store them and avoid leaving them out too long.
Make-Ahead Tips
- Make the crusts, fillings, and toppings a day or two early to save time.
- Assemble the layers in your dish, then cover and chill until serving. This lets the flavors mix and the textures set.
- For easy transport, make individual servings in small jars or cups. They’re ready to go straight from the fridge.
With a bit of planning, you can impress everyone with no-bake summer desserts and icebox cakes. Enjoy the season’s best with these no bake layered desserts at your next summer party!
French-Inspired Napoleon Cake
Explore the world of French pastry with the mille-feuille, or Napoleon cake. This dessert is a masterpiece of layers. It combines flaky puff pastry with creamy pastry cream.
To make the mille-feuille, you need to work with puff pastry and make smooth pastry cream. Here’s how to create a stunning French dessert:
- Begin by making your puff pastry layers. Use store-bought or homemade. Bake until golden and crisp, using pie weights to prevent puffing.
- Then, make your creamy pastry cream. Chill it for 3 hours or overnight. For extra elegance, mix in whipped cream and chill for another hour.
- Cut your puff pastry into 15 pieces, making 5 stacks of 3 layers each. Spread pastry cream between the layers for evenness.
- Finish with a layer of vanilla icing and melted chocolate. Chill for 30 minutes to set the shape.
Your mille-feuille is now ready. It will wow your guests with its beauty and taste. Enjoy each bite of flaky pastry, creamy filling, and chocolate.
“The mille-feuille, a French iconic dessert, is the equivalent of Italy’s millfoglie, with both names meaning ‘a thousand leaves’ due to its multiple layers of pastry.”
Blueberry Cheesecake Icebox Creation
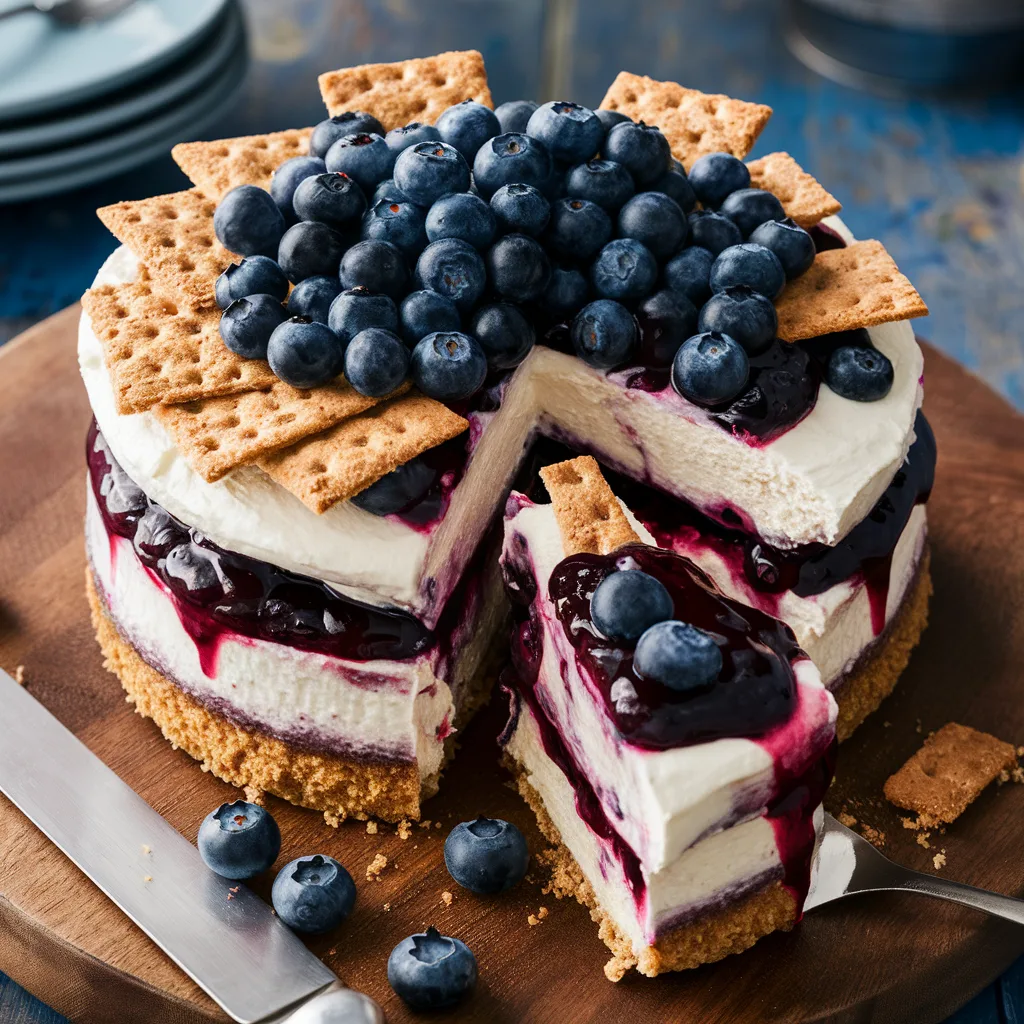
Enjoy the taste of summer with this amazing blueberry cheesecake icebox cake. It has creamy no-bake cheesecake, fresh blueberries, and crunchy graham crackers. It’s a hit with everyone.
Fruit Selection Guide
Choosing the right blueberries is key for a great blueberry cheesecake icebox. Look for plump, juicy berries with a bright color. Stay away from soft, shriveled, or discolored berries. They can ruin the taste and texture of your dessert.
Layer Setting Techniques
- Start by making a blueberry compote. Mix 1 lb. of fresh blueberries, 1/4 cup of cold water, and 3 tsp. of cornstarch in a saucepan. Heat it up, stirring often, until it thickens. Then, remove it from heat and stir in 3/4 cup of confectioners’ sugar and 1 tsp. of lemon juice. Let it cool down completely.
- In a big bowl, beat 12 oz. of cream cheese until it’s smooth. Add 2 tsp. of lemon zest and 1/8 tsp. of kosher salt. Then, mix in 2 1/2 cups of heavy whipping cream until it’s all combined.
- Put 9 graham cracker sheets in a single layer in a 9×13 inch baking dish. Spread half of the cheesecake mixture on the crackers. Then, add the cooled blueberry compote on top. Repeat the layers, ending with the remaining cheesecake mixture.
- Put the icebox cake in the fridge for at least 4 hours, or until it’s set. Serve it chilled and enjoy the perfect mix of tart blueberries and creamy cheesecake.
This no-bake blueberry cheesecake icebox is a summer favorite. Its colorful layers and refreshing taste make it a great way to enjoy the season’s best blueberries.

German Chocolate Layer Cake Excellence
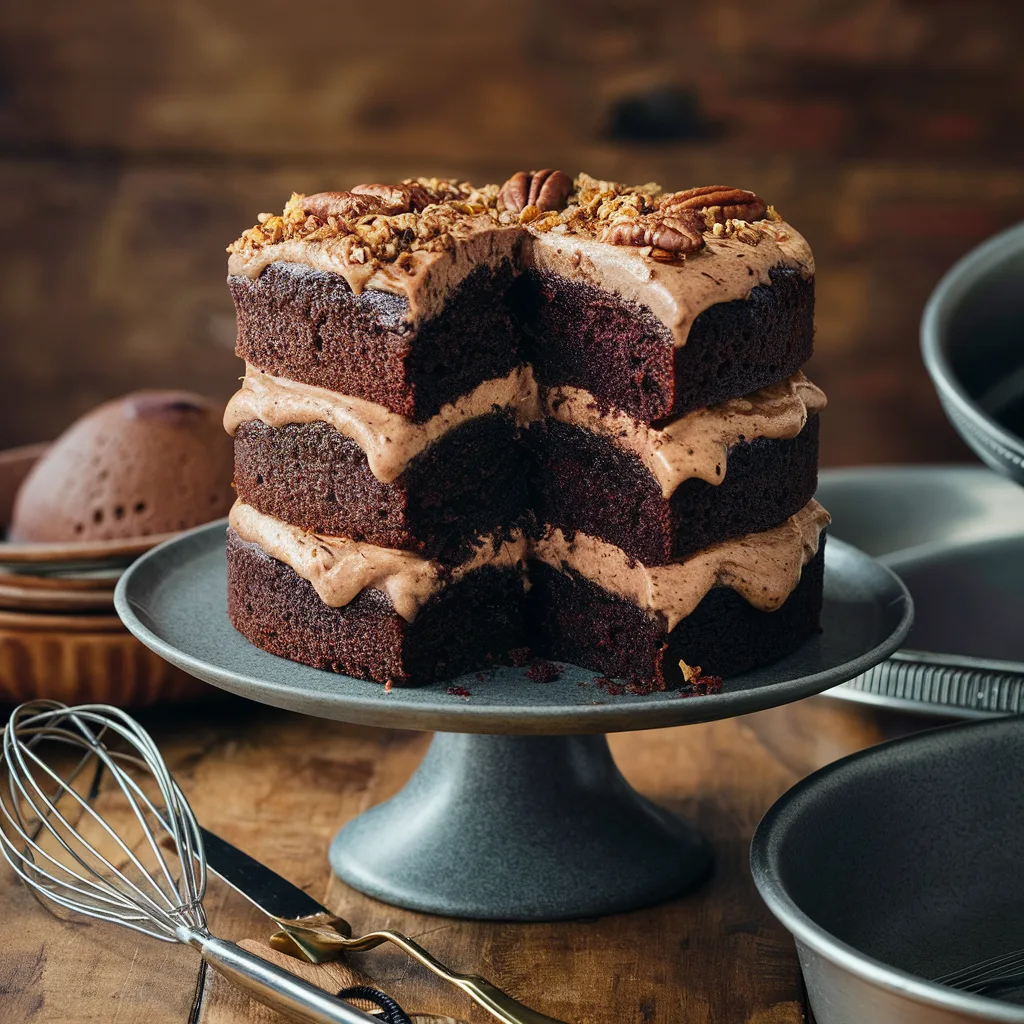
Take your baking to the next level with a German chocolate layer cake. It’s a treat with moist chocolate cake layers and creamy coconut-pecan frosting. Discover how to make this stunning cake that will impress everyone.
Begin by mixing the cake batter. You’ll need 4 large eggs for a light texture. Divide the mix into three pans for even cooking. The trick is to line the pans with waxed paper, a method the author has used for 45 years.
While the cakes bake, make the coconut pecan frosting. It needs 3 egg yolks and cooks for 12 minutes on medium heat. If you want to cover the whole cake, double the frosting recipe. This will add 3-4 minutes to cooking time.
After the cakes cool, it’s time to put your cake together. Use an offset spatula to spread frosting between the layers. This will make your German chocolate layer cake look amazing. For the best display, serve it on a cake stand or plate.
With the right steps and care, you can make a classic German chocolate cake at home. Your guests will love it when you slice into this layered chocolate cake masterpiece.

Peanut Butter and Chocolate Layered Dreams
Indulge in the perfect marriage of peanut butter and chocolate with this irresistible layered dessert. It combines creamy fillings, crunchy elements, and smooth ganaches. This will tantalize your taste buds. Learn how to layer and store your desserts to keep them fresh.
Texture Combinations
The key to a stunning layered dessert is mixing different textures. Start with a base of crushed Oreo sandwich cookies for a delightful crunch. Then, add a layer of creamy peanut butter and cream cheese filling. Finish with a rich chocolate pudding layer for a perfect flavor mix.
Add a dollop of airy Cool Whip to each layer for a smooth contrast. For a final touch, sprinkle peanut butter chips and milk chocolate chips throughout. This adds a delightful crunch in every bite.
Storage Recommendations
To keep your dessert fresh, proper storage is key. Once made, refrigerate it. Dairy-based ingredients like cream cheese and pudding need a cool place to prevent spoilage.
The dessert can stay in the fridge for up to a week. This lets you prepare it ahead and enjoy it longer. When you’re ready to serve, let it sit at room temperature for 15 minutes. This helps the flavors meld and the textures soften, making it even better.
Indulge in the perfect balance of peanut butter and chocolate with this captivating layered dessert. Try different textures and storage methods to create a show-stopping treat. It will impress your guests and satisfy your cravings for peanut butter desserts and chocolate peanut butter cake.
Professional Presentation Tips
Take your layered desserts to the next level with expert presentation tips. Choose a plate or dish that matches your dessert’s colors and textures. Aim for balance, use negative space, and build height to catch the eye.
Use bright colors like red, yellow, and green to make your dessert pop. This will make it more appealing to look at.
Garnishing is key to professional plating. Pick ingredients that complement your dessert without overpowering it. Try simple garnishes like fruit, mint, or a sauce drizzle to complete the look.
Food photography is also important. Share your layered desserts on social media to show off your skills. Play with angles, lighting, and backgrounds to highlight your creations. Natural materials like wood or stone can add a unique touch to your photos.

