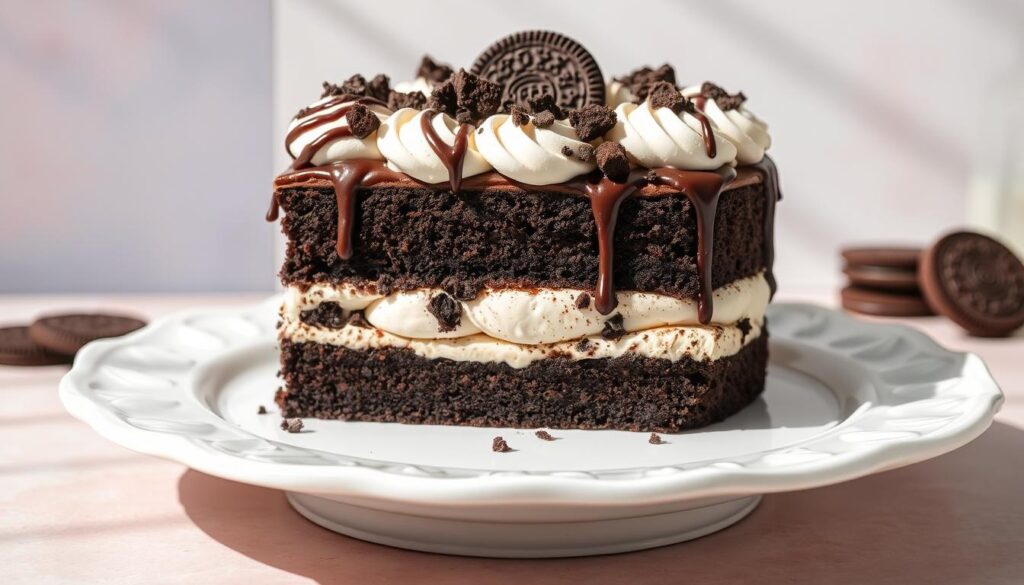
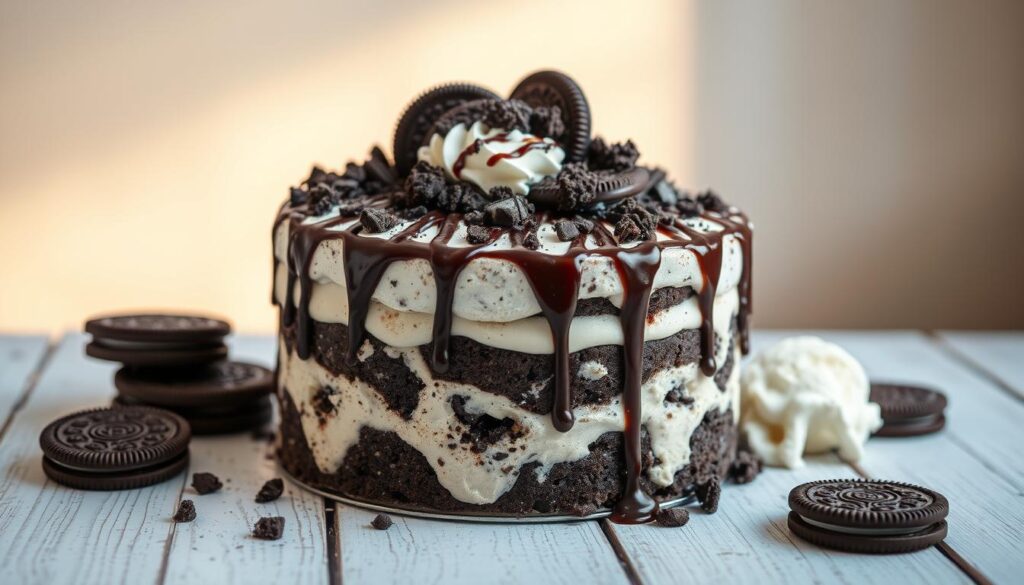
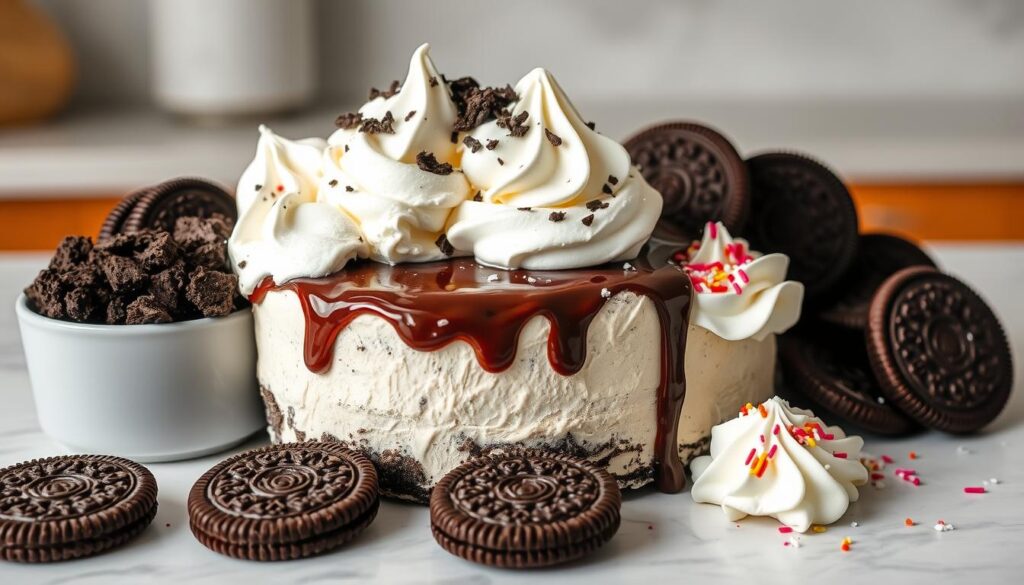
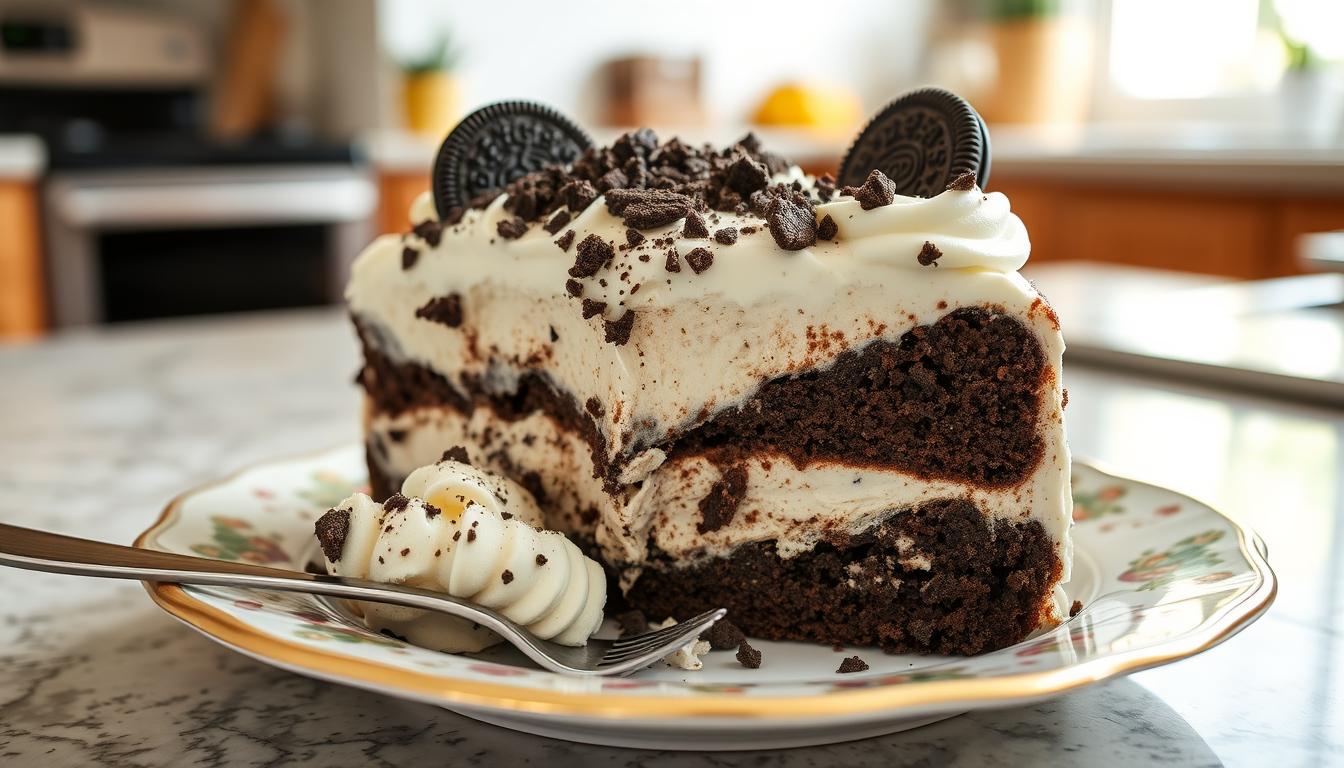
When summer gets hot, an Oreo Ice Cream Cake is the perfect cool treat. It has five layers: Oreos, cookies ‘n cream ice cream, hot fudge, whipped topping, and more Oreos. This dessert is a dream come true, sure to please everyone.
This cake is loved for its easy recipe. You only need four main ingredients and a few steps to make it. It’s perfect for any event, from barbecues to birthdays. It’s a no-bake wonder that will wow your guests.
Key Takeaways:
- Oreo Ice Cream Cake features 5 decadent layers: crushed Oreos, cookies ‘n cream ice cream, hot fudge, whipped topping, and more Oreos
- The recipe requires only 4 main ingredients, making it a budget-friendly and easy-to-prepare dessert
- The cake can be made ahead of time and frozen for up to 3 months, making it a convenient option for large gatherings and parties
- With its creamy texture and rich flavors, the Oreo Ice Cream Cake is a crowd-pleasing treat that’s sure to satisfy your sweet cravings
- The recipe yields a large quantity, serving approximately 20 people, making it an ideal choice for sharing with family and friends

“This oreo ice cream cake is a true crowd-pleaser! The combination of the crunchy Oreo crust, rich chocolate ganache, and creamy ice cream is simply irresistible.” – Dessert Enthusiast
Why This Oreo Ice Cream Cake Will Become Your Go-To Dessert
Looking for a delightful, crowd-pleasing dessert that won’t break the bank? Look no further than the Oreo Ice Cream Cake. This decadent treat checks all the boxes. It’s a perfect make-ahead option, uses budget-friendly ingredients, and delivers consistently impressive results.
Perfect Make-Ahead Option
This oreo ice cream cake is great because it’s easy to make ahead. You can prepare it in advance and store it in the freezer. It’s perfect for summer parties, potlucks, and any gathering where you want to save time.
Just assemble the layers, freeze, and enjoy a hassle-free dessert when it’s time to serve.
Budget-Friendly Ingredients
Making an oreo ice cream cake at home is surprisingly affordable. The recipe uses just a handful of inexpensive ingredients. You’ll need Oreo cookies, butter, ice cream, and a few simple toppings.
With a total cost of around $20 for a 16-serving cake, this dessert delivers an unbeatable value.
Crowd-Pleasing Results
The 4 ingredient oreo ice cream cake is a crowd-pleaser. The combination of rich Oreo cookie crust, creamy ice cream, and indulgent fudge and whipped cream toppings is loved by all. This cake is sure to be a hit at any party or gathering, satisfying both kids and adults alike.
Whether you’re hosting a summer barbecue, celebrating a special occasion, or simply craving a decadent treat, the Oreo Ice Cream Cake is the perfect solution. With its make-ahead convenience, budget-friendly ingredients, and crowd-pleasing results, this dessert is destined to become a go-to favorite in your recipe collection.

Essential Ingredients for Your Oreo Ice Cream Cake
To make the perfect oreo ice cream cake, you’ll need a few key ingredients. Start with a box of regular Oreo cookies. You’ll need about 36 cookies for the crunchy cookie crust. For the ice cream layer, use around 1.5 quarts of creamy oreo ice cream.
For the cake’s topping, you’ll need a 12-ounce jar of rich hot fudge sauce and an 8-ounce tub of Cool Whip for the whipped cream. These simple yet indulgent components will help you create a decadent oreo ice cream cake that’s sure to delight.
| Ingredient | Quantity |
|---|---|
| Oreo Cookies | 36 cookies |
| Cookies ‘n Cream Ice Cream | 1.5 quarts (1.89 liters) |
| Hot Fudge Sauce | 12 ounces |
| Cool Whip | 8 ounces |
With these essential ingredients, you’ll be well on your way to creating a decadent and creamy oreo ice cream cake that’s sure to impress.

Kitchen Tools and Equipment Needed
To make a delicious Oreo ice cream cake, you need a few key tools and equipment. The right baking pan and tools for layering and serving are crucial. Having the right items ensures your dessert will be perfect.
Essential Tools
- 13×9 inch baking dish or 10-inch springform pan
- Food processor or rolling pin for crushing Oreos
- Spatula for spreading ice cream and toppings
- Mixing bowls
- Measuring cups and spoons
Optional But Helpful Items
- Ice cream scoop for neat servings
- Serrated knife for clean cake slices
- Piping bag for decorative whipped cream
Pan Size Recommendations
The best pan size for this Oreo ice cream cake recipe is a 13×9 inch baking dish or a 10-inch springform pan. These sizes ensure the cake has the right thickness and layers. Don’t use pans that are too small, as the ingredients won’t fit right.
With the right tools and equipment, you’re ready to make an impressive Oreo ice cream cake. Let’s get started!
How to Make the Perfect Oreo Crust
Making a delicious oreo crust is key to your Oreo ice cream cake. Start by crushing 3 cups of oreo cookie crumbs. You can use a food processor or a rolling pin in a bag to do this.
After crushing, mix the crumbs with 1/4 cup (1/2 stick) of melted unsalted butter. Stir until the crumbs are well coated. Save a bit for the top.
Press the homemade oreo crust into the bottom of your pan. Make sure it’s even. Don’t remove the cream filling for extra richness.
Your oreo crust is now ready. Let it freeze while you prepare the next layers. A solid homemade oreo crust is crucial for the ice cream.
Mastering the Ice Cream Layer Technique
Making the perfect Oreo ice cream cake is all about balance. The ice cream layer is crucial. Before you start, make sure the ice cream is soft and creamy.
Proper Ice Cream Softening
Take the ice cream out of the freezer and put it in a big bowl. Let it sit at room temperature for 10-15 minutes. Stir it every now and then until it’s soft and spreadable. But don’t make it too soft, as it should still hold its shape.
Layering Tips and Tricks
- Spread the softened ice cream over the Oreo crust evenly, making sure to cover the edges.
- If the ice cream cake layers start to melt a bit when you add the hot fudge, that’s okay. It’s normal and will make the layers blend well.
- For a beautiful look, add a layer of whipped cream or crushed Oreos between the ice cream and hot fudge.
With these tips, you’ll make an Oreo ice cream cake that will impress everyone. Work fast to keep the ice cream soft during the layering.
Adding the Hot Fudge and Toppings
The final step in making your Oreo ice cream cake is adding hot fudge sauce and toppings. Warm the hot fudge sauce first. This makes it easier to spread over the ice cream layer. Put the cake back in the freezer for another hour to set.
After the hot fudge sets, it’s time for the final touches. Spread cool whip on top, then sprinkle crushed Oreo ice cream cake toppings over it. This mix of cool whip and crunchy Oreo crumbs looks amazing and tastes great.
For a homemade touch, you can make your own hot fudge sauce. This adds more richness and flavor to your cake. Whether you make your own sauce or use store-bought, the mix of cold ice cream, warm fudge, and sweet toppings will delight everyone.
| Ingredient | Quantity |
|---|---|
| Hot Fudge Sauce | 1 cup |
| Cool Whip | 1 cup |
| Crushed Oreo Cookies | 1 cup |
Remember, layering your Oreo ice cream cake well requires quick work. The cold ice cream can be tricky to handle. So, have all your toppings ready. With a bit of care, you’ll create a stunning dessert that will wow your guests.
Storage Tips and Freezing Guidelines
To keep your Oreo Ice Cream Cake perfect, follow these storage tips. Freeze it for 3-4 hours or overnight before serving. This lets the layers set and flavors blend well.
Optimal Freezing Time
For long storage, freeze your cake for up to 7 days. Use plastic wrap or foil to cover it tightly. This prevents freezer burn and keeps it creamy. Before serving, thaw it slightly in the fridge or at room temperature.
Long-Term Storage Solutions
For the best storage, freeze your cake with foil or storage wrap. This keeps it fresh and prevents bad smells or tastes. Enjoy it within the first week for the best taste.

